This article contains affiliate links: if you buy through them we may earn a commission, at no extra cost to you. Read our affiliate disclosure.
The anchor’s down, the cooler’s open, and the kids have been asking “is it ready yet?” since you left the dock. Good news: pontoon boat slide installation is a job for one afternoon at home and about five minutes on the water once you’ve done it once. Most pontoon slides are inflatable, strap to your rail, and need no drilling at all.
This guide walks you through setting up a pontoon slide kit in five steps, what to check before the first run, how to take it down at the end of the day, and what changes if you’re adding a permanent fiberglass slide to an upper deck.
Before you start: what you need
An inflatable slide kit is simple. You don’t need a drill, sealant or brackets. You need the slide, a way to inflate it, and a pontoon railing it can strap to.
- The slide and its straps. Unpack everything at home and read the manual once, so nothing surprises you at the lake.
- A pump with the right valve adapter. A 12-volt pump that runs off the boat battery makes it a five-minute job. Some slides include one (the RAVE does); others don’t, so check your listing.
- A tape measure. You’ll want the height of your side rail and the width of your gate opening.
- A bucket on a rope. For keeping the slide wet, which matters more than most people think.
- Life jackets for kids and weaker swimmers. Have them out and ready before the first run.
Haven’t picked a slide yet? Our guide to the best pontoon boat slides compares sizes, rider limits, pumps and prices.
How to install a pontoon boat slide in 5 steps
Step 1: Measure your rail and pick the spot
Most inflatable slides strap to the side rail or fit over a gate opening. Each one is made for a range of rail heights: the RAVE Sports Pontoon Slide, for example, fits railings 21 to 30 inches high. Measure yours before you buy, and again before you set up if you’ve changed boats.
Choose a spot with open water below it and nothing in the landing path. Keep your boarding ladder free, because that’s how riders climb back aboard for the next turn.
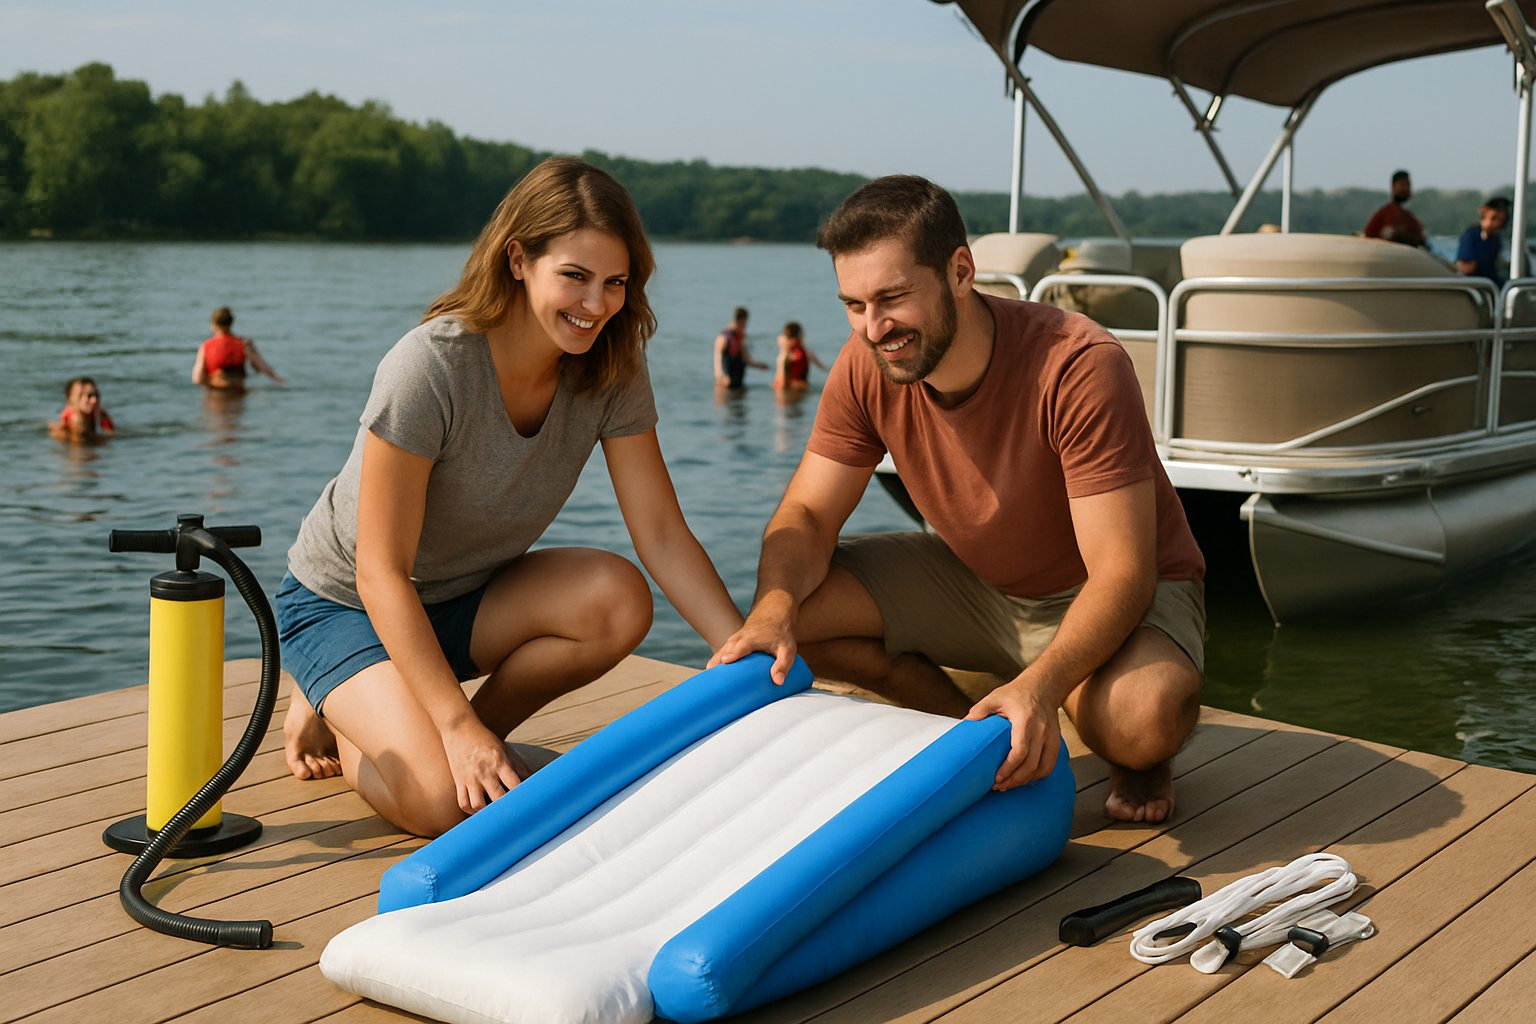
Step 2: Unroll and inflate
Unroll the slide on the deck, clear of anything sharp. Connect the pump, close the valve caps you’re not using, and fill it until it’s firm. With a 12-volt pump, most slides are ready in about five minutes. Follow the maker’s guidance on firmness rather than guessing, and don’t leave it baking at full pressure in hot sun for hours before you use it.
Note the valve type. The Airhead Spillway, for instance, uses a Halkey-Roberts valve and comes without a pump unless you buy the bundle with Airhead’s 12V pump.
Step 3: Position it and strap it tight
Lift the slide into place with a helper. On the RAVE, the upper straps wrap the top of the side rail and the lower straps go to a vertical rail bar 16 to 54 inches from the side of the slide. Other slides work the same way with their own strap layout, so follow your manual.
- Pull every strap snug and even, so the slide sits straight and doesn’t twist.
- Tuck loose strap ends away so nobody catches a foot on them.
- Thin rails can flex, so give the slide a firm push from the side and re-tighten if it moves.
Step 4: Anchor, check the depth and wet the slide
Drop anchor and switch the engine off. Check the water depth at the landing: RAVE asks for at least 5 ft, and the Aquaglide Freefall at least 8 ft with 10 ft of clear space around the landing. Whatever slide you own, use the number in its manual.
Then splash a bucket of lake water down the slide. A dry vinyl slide is slow and can give riders rub burns, so keep it wet all afternoon.
Step 5: Test it, then re-check the straps
Let a confident adult swimmer within the rider limit take the first run, sitting and feet first. Watch how the slide moves on the rail. After the first few runs, check every strap again; they often settle and need one more pull.
Now set the house rules: one rider at a time, wait until the person ahead has swum clear, and an adult keeps an eye on the slide and the water.
Slides that make setup easy
If you’re still choosing, these three are the easiest to live with on a typical pontoon.
RAVE Sports Pontoon Slide
- 9 ft sliding surface
- 200 lb, one rider
- 12V pump included
Slide Island Boat Slide and Mat
- 10 ft 6 in drop-stitch slide
- 300 lb in slide mode
- Turns into a floating mat
Airhead Spillway Pontoon Slide
- 1,000-denier reinforced PVC
- 8 ft sliding surface
- Bundle with 12V pump
- RAVE Sports Pontoon Slide: the 12-volt inflator in the box runs off your boat battery and fills it in about five minutes, and the straps fit most rails 21 to 30 inches high. It rolls up to about the size of a sleeping bag.
- WOW Pontoon Zip Slide: adjustable straps fit most pontoons, and the molded steps and handles help kids climb up. Check whether your listing includes a pump.
- Airhead Spillway Pontoon Slide: Airhead says it inflates and attaches in five minutes or less. Buy the bundle with the 12V pump, since the slide alone has none.
Check the RAVE Pontoon Slide price on Amazon
Taking it down at the end of the day
Pack the slide up before you move the boat. An inflated slide catches wind and pulls on your rail, and nobody should be on it while the boat is moving.
- Unstrap the slide and set it on the deck.
- Rinse off sand and grass, and let it dry if you can.
- Deflate it (many 12V pumps also deflate) and roll it toward the open valve.
- Stow it under a seat or in a large dry bag, since most slides don’t include a storage bag.
If you packed it damp, unroll it at home and let it dry fully. Our boat slide maintenance guide covers cleaning, patching and off-season storage.
Adding a permanent slide to an upper deck
A rigid fiberglass slide is a different project. It needs an upper deck, it bolts on, and it stays on one boat. J’s Upper Decks sells a 10 ft fiberglass slide package with mounting hardware and two hand rails, and some builders, such as Bennington on its “Top Deck” models, offer a factory slide.
For a fixed slide, follow the maker’s instructions to the letter and use only the hardware it supplies. If you’re not comfortable drilling into your deck or rails, have a dealer or the maker’s installer do it. A slide that isn’t mounted as designed is not worth the risk.
Quick safety check before every run
- Boat anchored, engine off.
- Water deep enough for your slide, and the landing zone clear of swimmers and floats.
- Straps tight, slide firm and wet.
- One rider at a time, within the rider limit (about 200 lb on most pontoon slides).
- An adult watching, kids and weaker swimmers in life jackets.
- Calm conditions: pack up in strong wind, current or storms, and stay clear of boat traffic.
Read the full boat slide safety guide before your first outing, and browse all our pontoon boat slide guides. Thinking about building your own instead? See our honest take on a DIY pontoon boat slide.
Pontoon boat slide installation questions
Do I need tools to install a pontoon slide?
Not for an inflatable slide. It attaches with the straps that come with it, so all you need is a pump with the right valve adapter. Fixed fiberglass slides are different: they bolt on with the maker’s mounting hardware.
How long does it take to set up?
With a 12-volt pump, inflating takes about five minutes, and strapping it on a few more. The first time takes longer while you learn your strap layout, so do a dry run at the dock.
Can I install a slide on a pontoon with a ladder?
Yes. Just place the slide so it doesn’t block the ladder or land where people climb out. Riders need the ladder to get back aboard.
Why does my slide wobble?
Usually loose straps, a slide that isn’t firm enough, or a thin rail that flexes. Top up the air, pull every strap tight and even, and check that your rail height is in the range your slide is made for.
Can I use the slide while the boat is moving?
No. Only use it when you’re anchored with the engine off, and take it down before you move to the next spot.